It’s time for the first real dev blog post. I’d like to start out by giving an overview of the technology choices we have made so far making Wulverblade. I won’t be going into details about the tools and process on the art side since that isn’t something I know as much about. This will focus on the development environment, engines, and tools we’ve chosen from a programming and development perspective.
The first thing to introduce is the core tool and engine choice we’ve made: Unity. Before now this may have only been controversial because it did not have a lot of built-in focus on 2D games and Wulverblade is a sprite-based 2D game. You may know exactly what I mean by “sprite” but in case you do not what I mean is that every object you see in the game is actually completely flat. Any depth is an illusion created by either effects or the excellent art itself. Given that we are very comfortable with Unity from past work – in both 3D and 2D – it was an obvious choice for us. The benefits of building our own engine are far outweighed by the costs. We probably would still be knee-deep in engine programming now, but instead we’ve been able to leap forward with game development and the project is already in a stable playable state. That’s the power of out-of-the-box engines with mature editing environments like Unity. There are other similar options out there – like Unreal – but our past experience with Unity allows us to move so quickly.
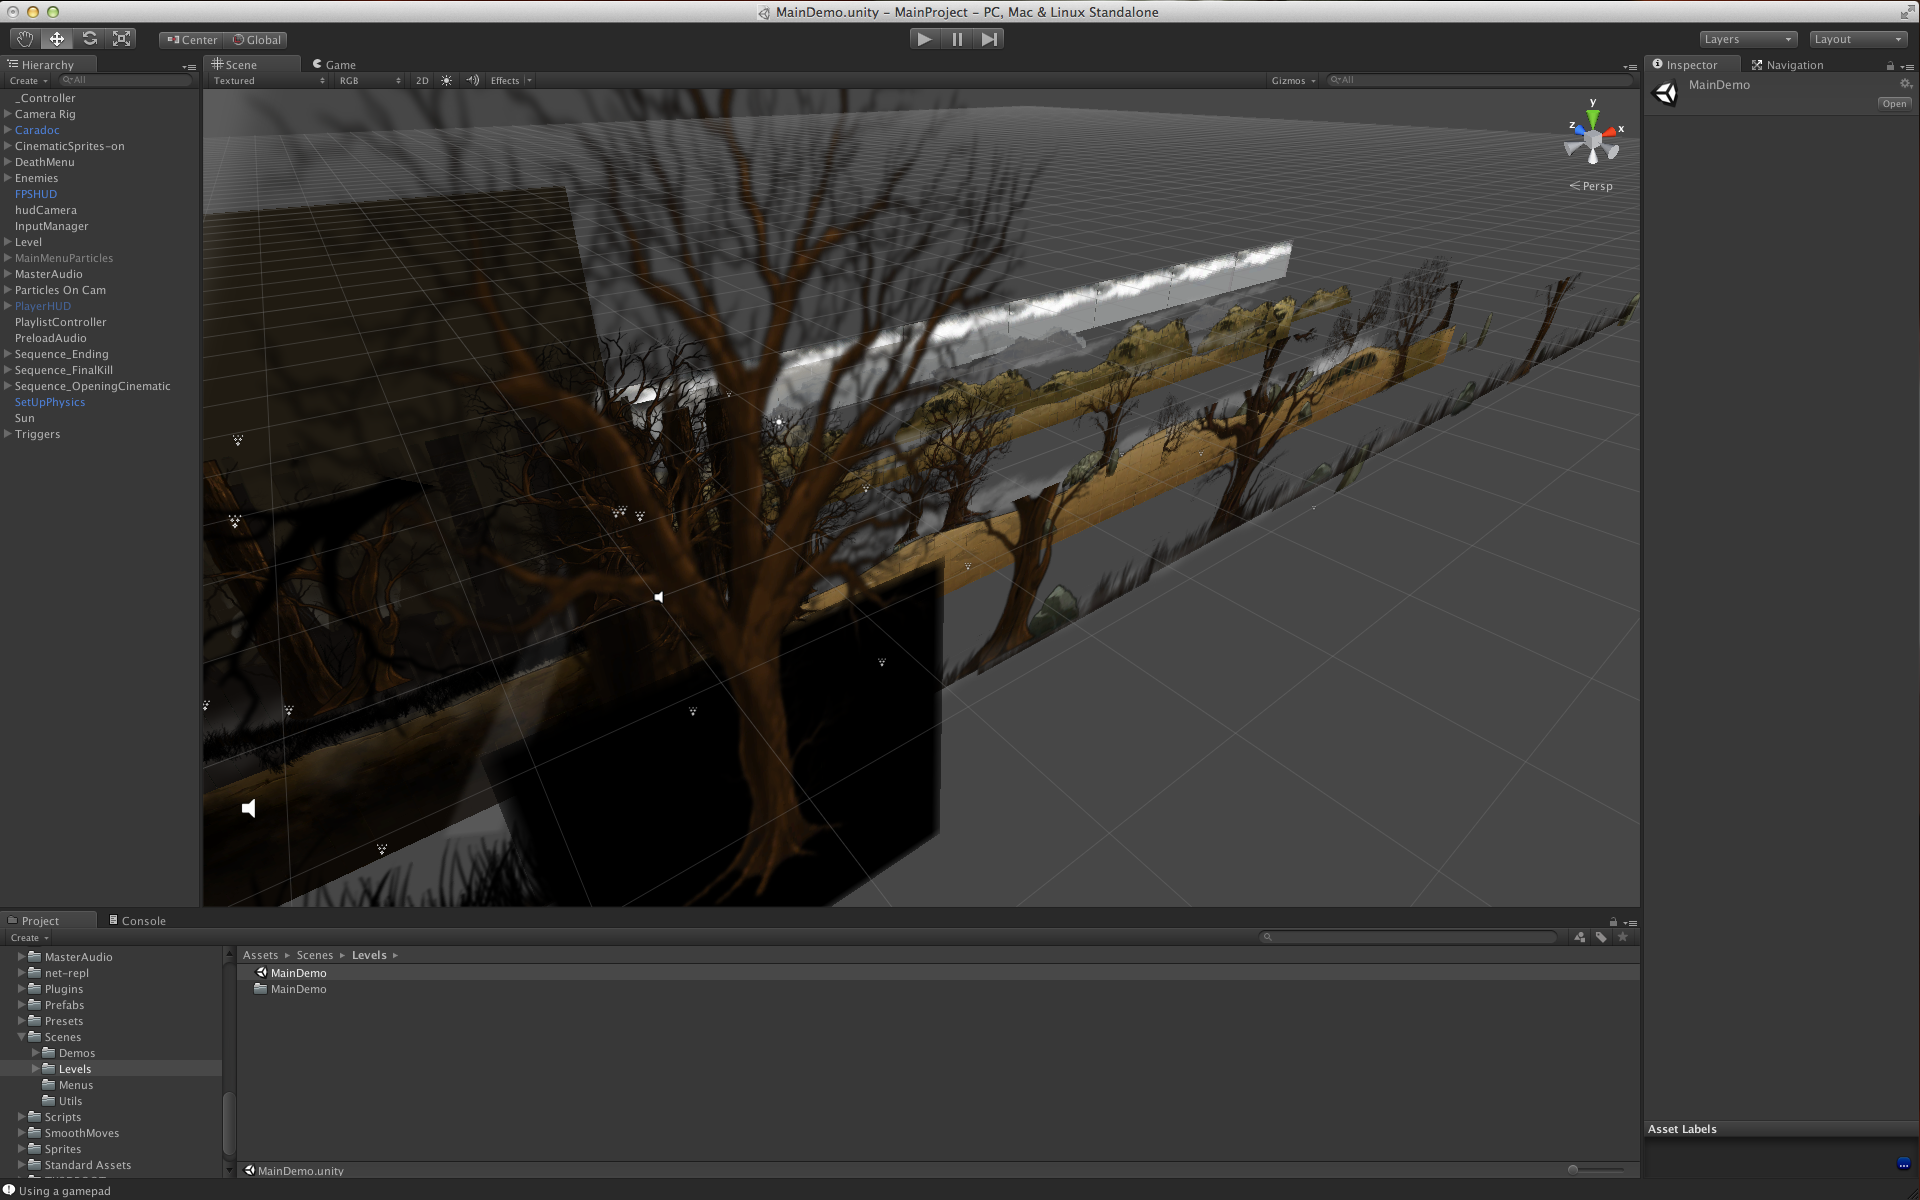
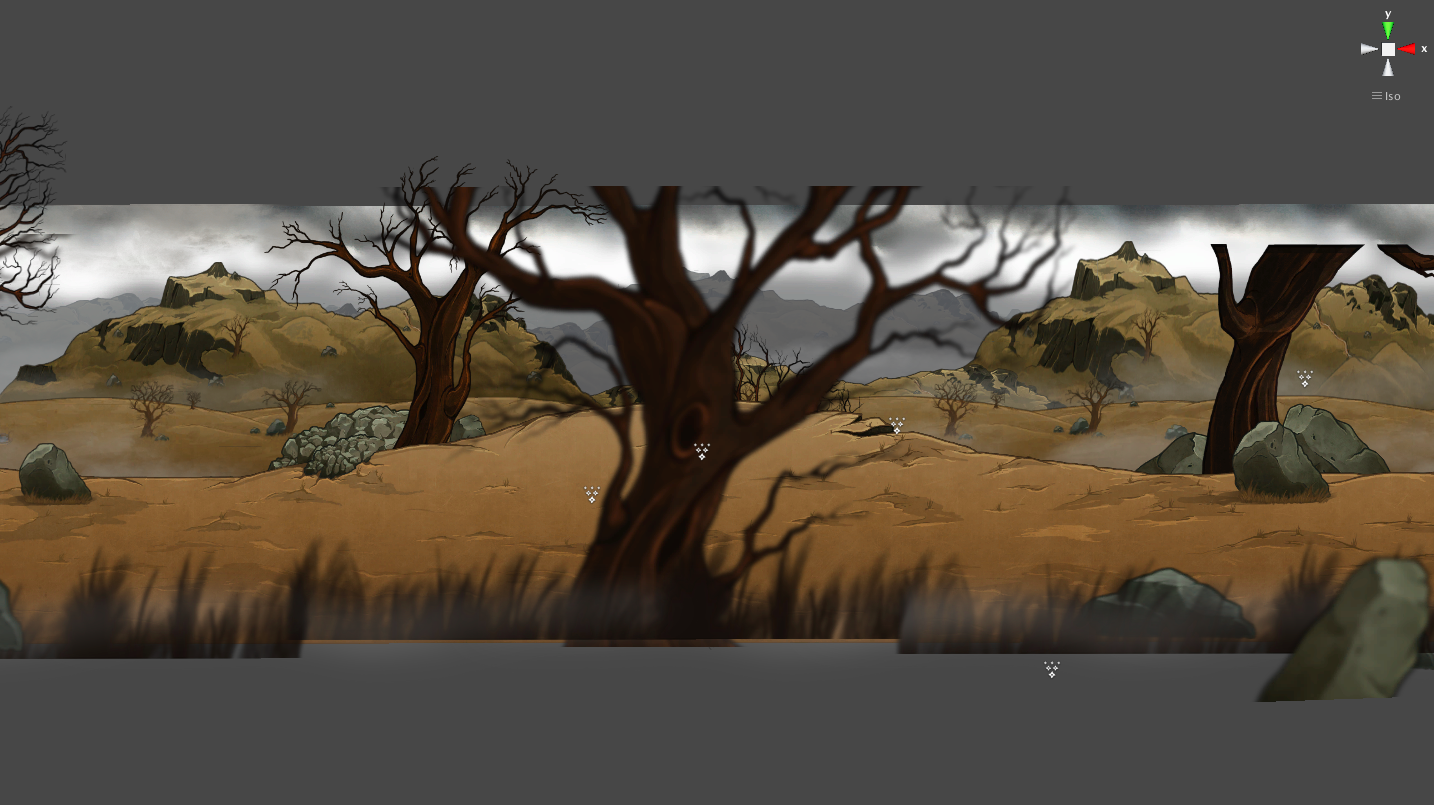
You can see in the two images above that when viewed from an angle all of the objects you see in the game are flat. They are also spaced out in the 3rd dimension. However when viewed head-on, as it will be viewed when playing, the layers combine together to produce the final effect.
With the release of version 4.3, Unity has started to roll out more built-in support for 2D games but it is still very new and it was released after we had already begun development. For now, we have chosen not to switch to using these new features. However, if you are just starting a new 2D project I think it would be worth your time to check out what Unity has added.
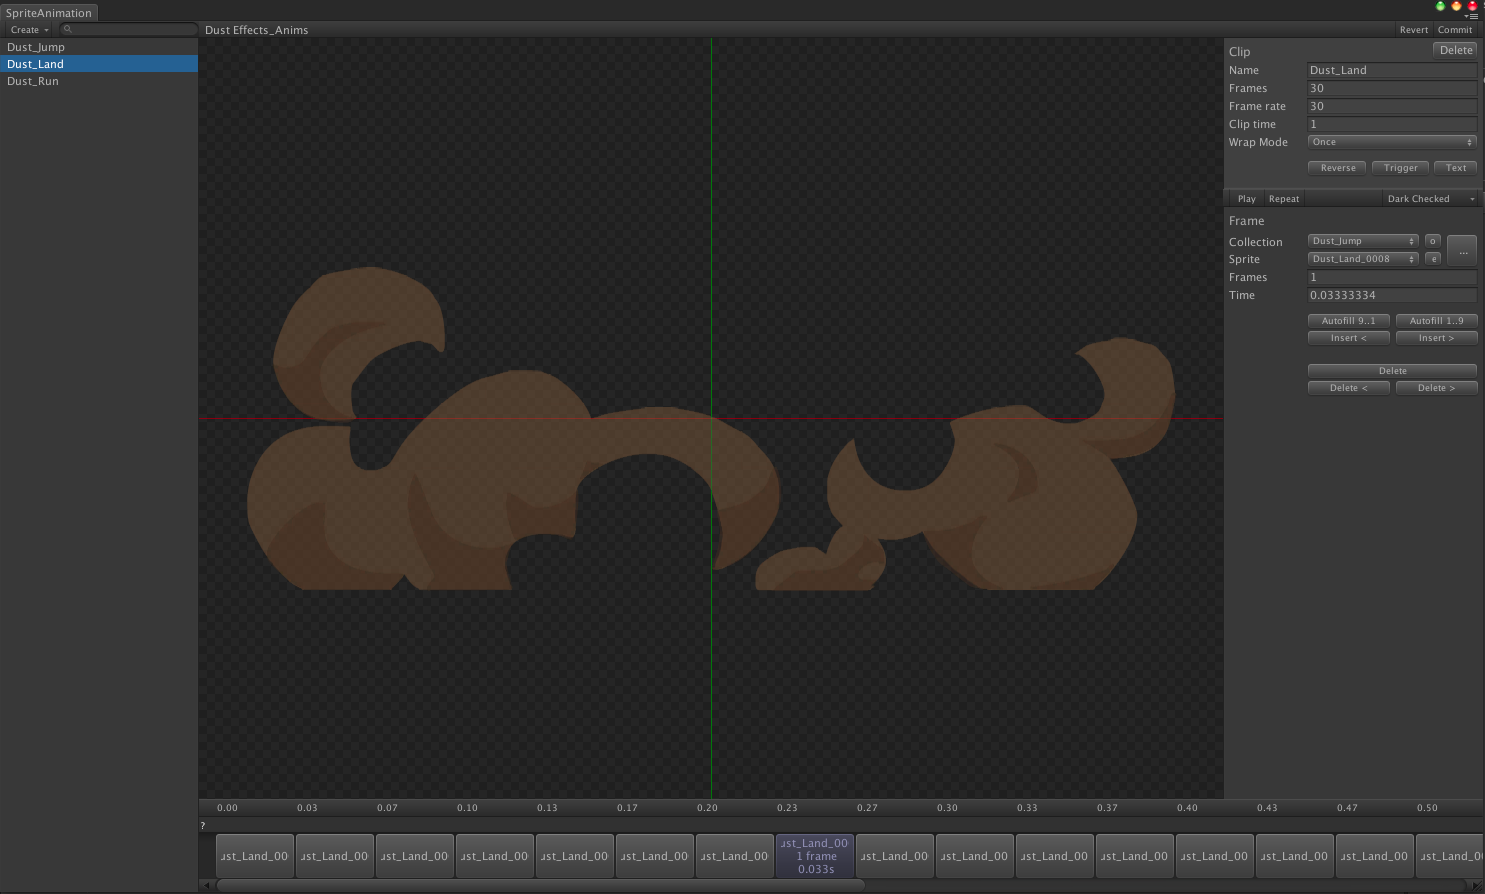
One of the great things about Unity is the explicit support the company has for user-created plugins and tools that augment and change Unity. They even have their own store – the Unity Asset Store – built into the editor. What this means is that there is a thriving community of tool and content developers selling their stuff to other users. We chose to use two very solid and mature systems on sale in the Asset Store for our 2D needs: 2D Toolkit and Smooth Moves. 2D toolkit provides a lot of awesome utility functionality both for editing and runtime engine features related to 2D sprite games. Smooth Moves is a 2D animation tool built right into Unity. It provides a timeline-based editing window that lets you animate your sprites very similar to how you would in Flash and since it integrates completely with Unity’s built-in animation system it was easy for us to put it together with a lot of our other animation scripts we have accumulated from working with Unity for years.
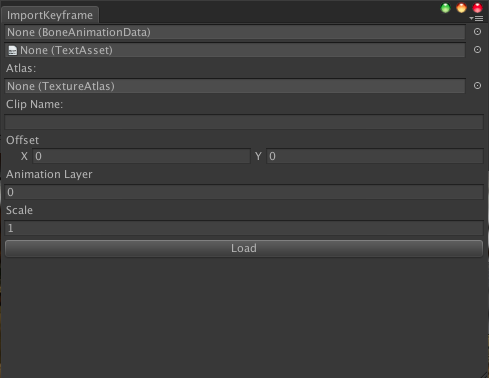
This brings up one of the issues we had with the connection between the art team and the development team: how do we get Mike’s sprites and sprite animations into the game? He had already done a lot of work in Flash to create these characters and backgrounds and many of them with complex animations. Would he need to redo all of that work again with the Smooth Moves editor? We decided this was not a good idea. This is an important lesson we learned prior to this project and an attitude we brought with us when we started working with Mike: accommodate your artists. Mike is very comfortable in Flash. That comfort means that he can produce high quality very quickly. If he needed to learn a new system – in this case Smooth Moves – it would have been wasted time because it does not actually provide any benefits for the art process over Flash. Instead we took some time to create a 2-sided tool for bringing his artwork and animation into Unity directly. We created an export tool for Flash which would create a file which was then digested with a paired tool in Unity. The result is a sprite collection in Unity that works with Smooth Moves. Our technical artist, Evan, can then do some clean up work using Smooth Moves on the sprites and animations and they end up looking exactly as they did in Flash. Mike, not needing to worry about this process, can then carry on creating more art. This process means we can bring a fully animated character from Flash and into the game in a few hours.
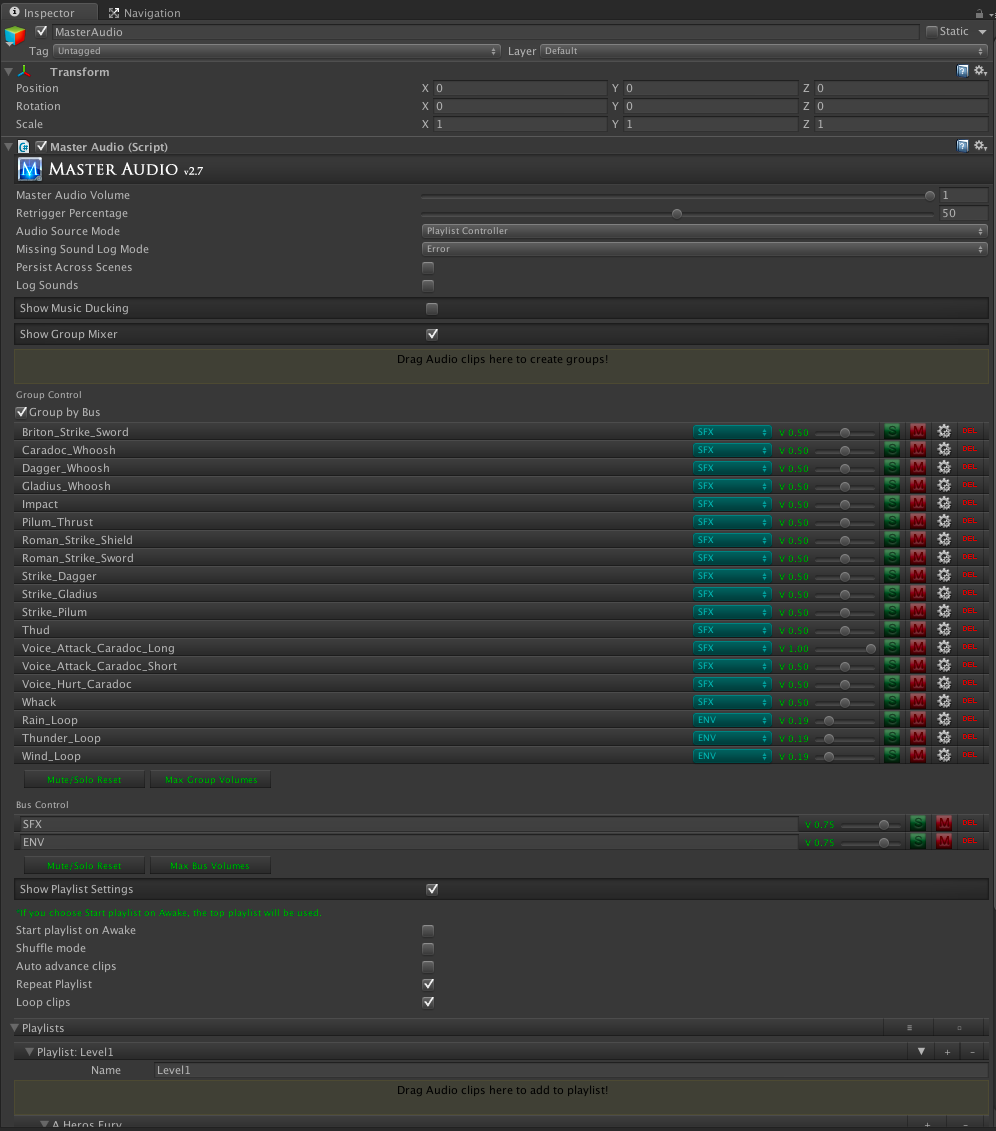
One of the areas that I have historically been disappointed with has been how we handle audio. In the past we simply used the Unity built-in audio systems directly and the lack of a higher-level framework felt very limiting. This time around I decided to do some research before putting any audio into the game and ended up picking another system from the Asset Store: Master Audio. One of the cool things about this is that audio clips can be assigned to groups which allows you to control many sounds at once. It provides a lot more options for controlling volumes. It also provides built-in support for sound variations which means I can simply tell the system to play the “sword strike” sound and it will play one of the many variations the sound team created. It is a tiny convenience since grabbing a random number and choosing a clip based on that is not very difficult but it is these small conveniences which allows us to focus on more core game development instead of engine development. I very quickly realized how good this system was when I was able to fashion together a “voice-over” system for playing our narrator over the game audio in just one day. The sound effects and the music both lower their volume automatically and then come back up to full volume after the voice over is done playing. All this with one function call that our level designer can access without needing to look at code.
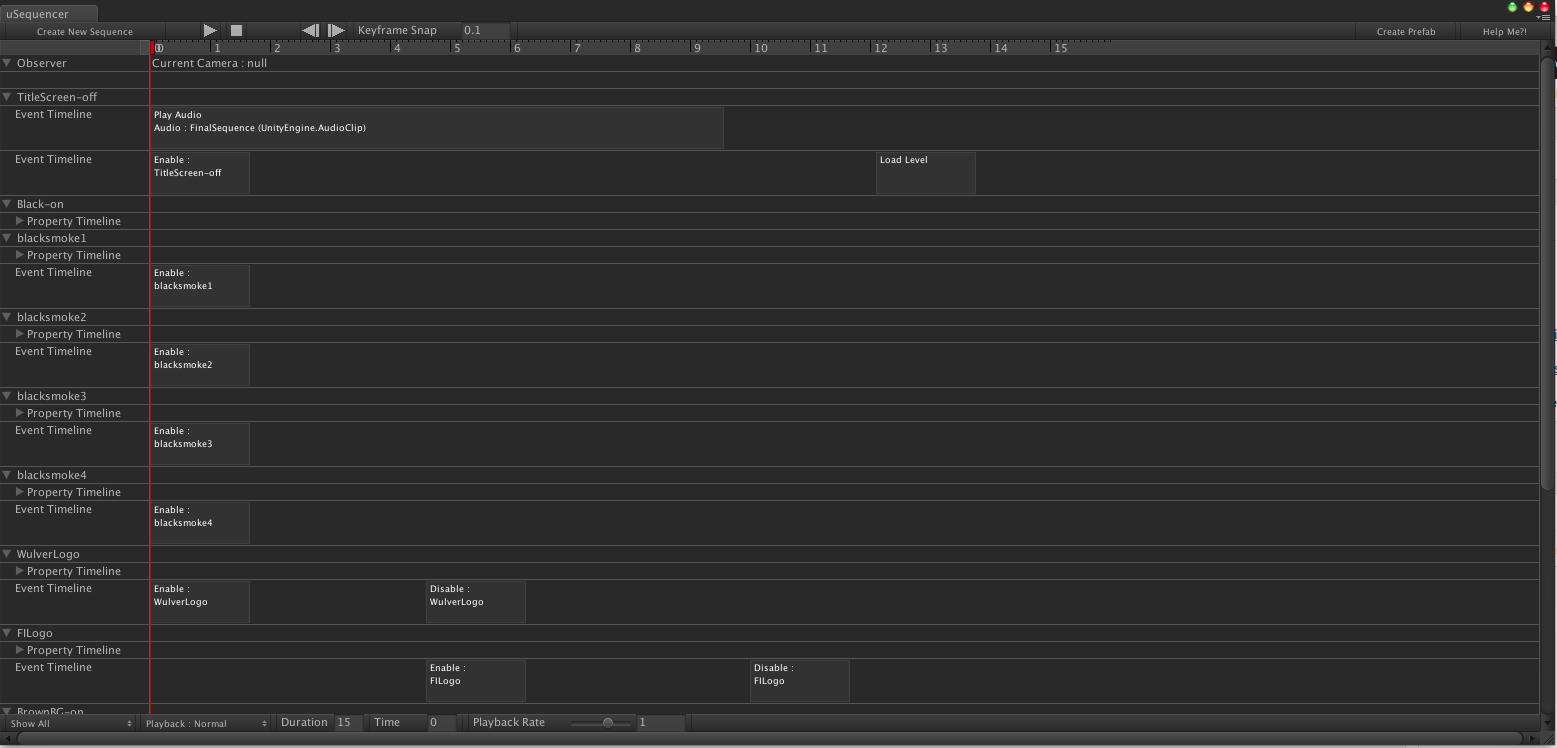
This brings us to one of the more frustrating areas from previous projects: cutscenes. Usually when we talk about cutscenes we think about sections in the game where control is taken away from the player and a set sequence of events takes over completely and plays from beginning to end. Sometimes you are allowed to fast forward or skip this sequence. This kind of functionality could be much more generally useful. For instance, in the main menu after you have selected to play the current Wulverblade demo we want to play some particle effects, some sounds, fade some elements in and some other elements out, and it all needs to be done at different times. All of this could be programmed specifically for the main menu. That will work but then the only people who can really understand what is happening and how to change it are programmers. Instead we can use a generic “sequencing” tool to do all of that. We can do simple sequences all the way up to full-blown cutscenes. For this we did a ton of research. A good tool should be easy for programmers or artists to use, powerful enough to create any kind of sequence we need, and extensible so someone like me can add more functionality that might be specific to our game. The most difficult thing here is the user interface of the editor. Making timeline-based editors like this is hard and making one that is completely robust but also very functional is not at all easy. We finally decided to go with uSequencer – another Unity editor extension available in the Asset Store. So far we’ve been very happy with it.
I hope this was an interesting introduction to Wulverblade’s development. What I’d love to hear is any feedback. Leave a comment with any suggestions for future blog posts or if there is anything specific you’d like me to cover in more detail. I’d also be interested in hearing if anyone solved some of these problems in a different way.
